...
Choose the Germplasm List filter.
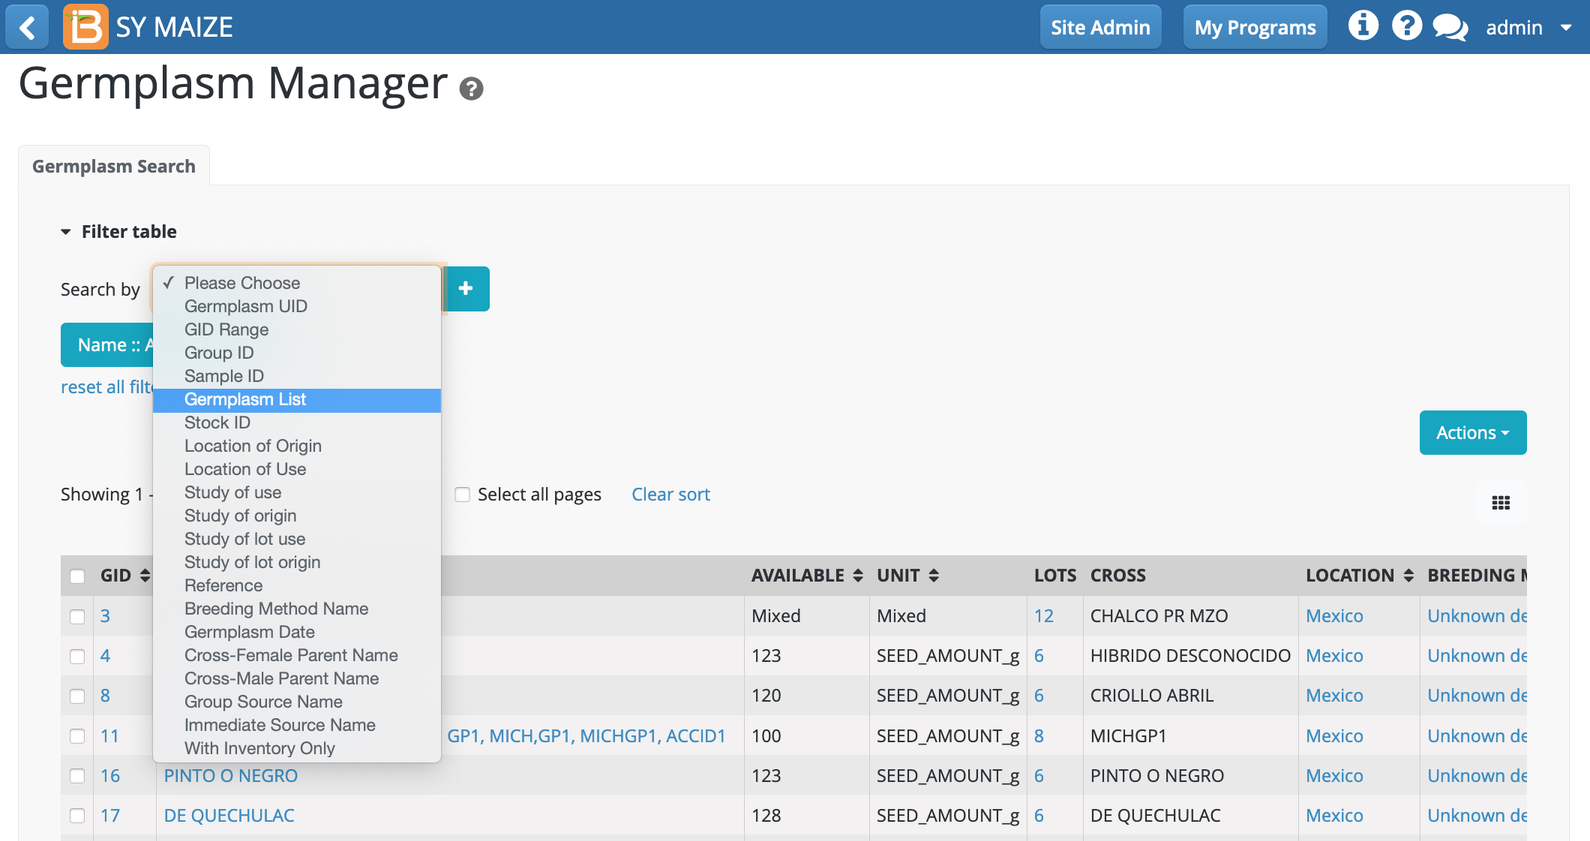
Click on the germplasm list filter (teal button). Germplasm List :: All in the following example.

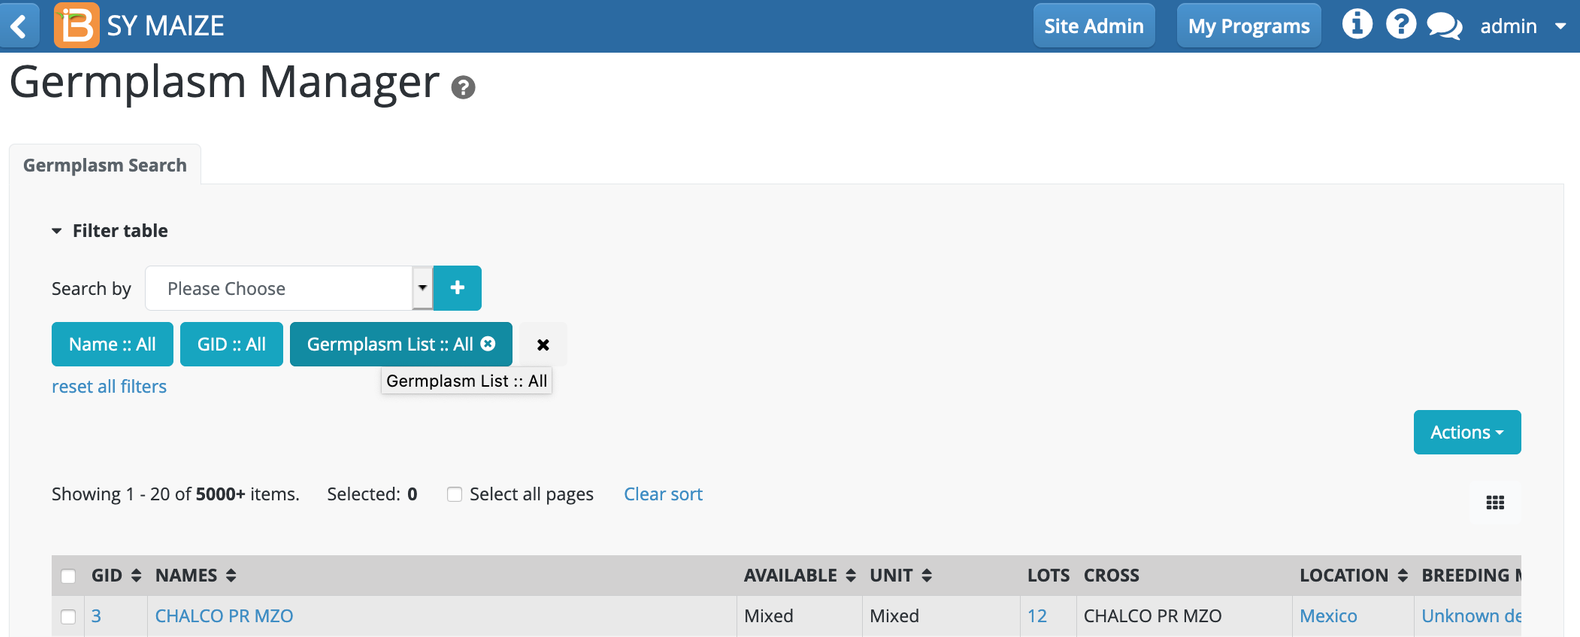
Choose the list of interest. Ok.
...
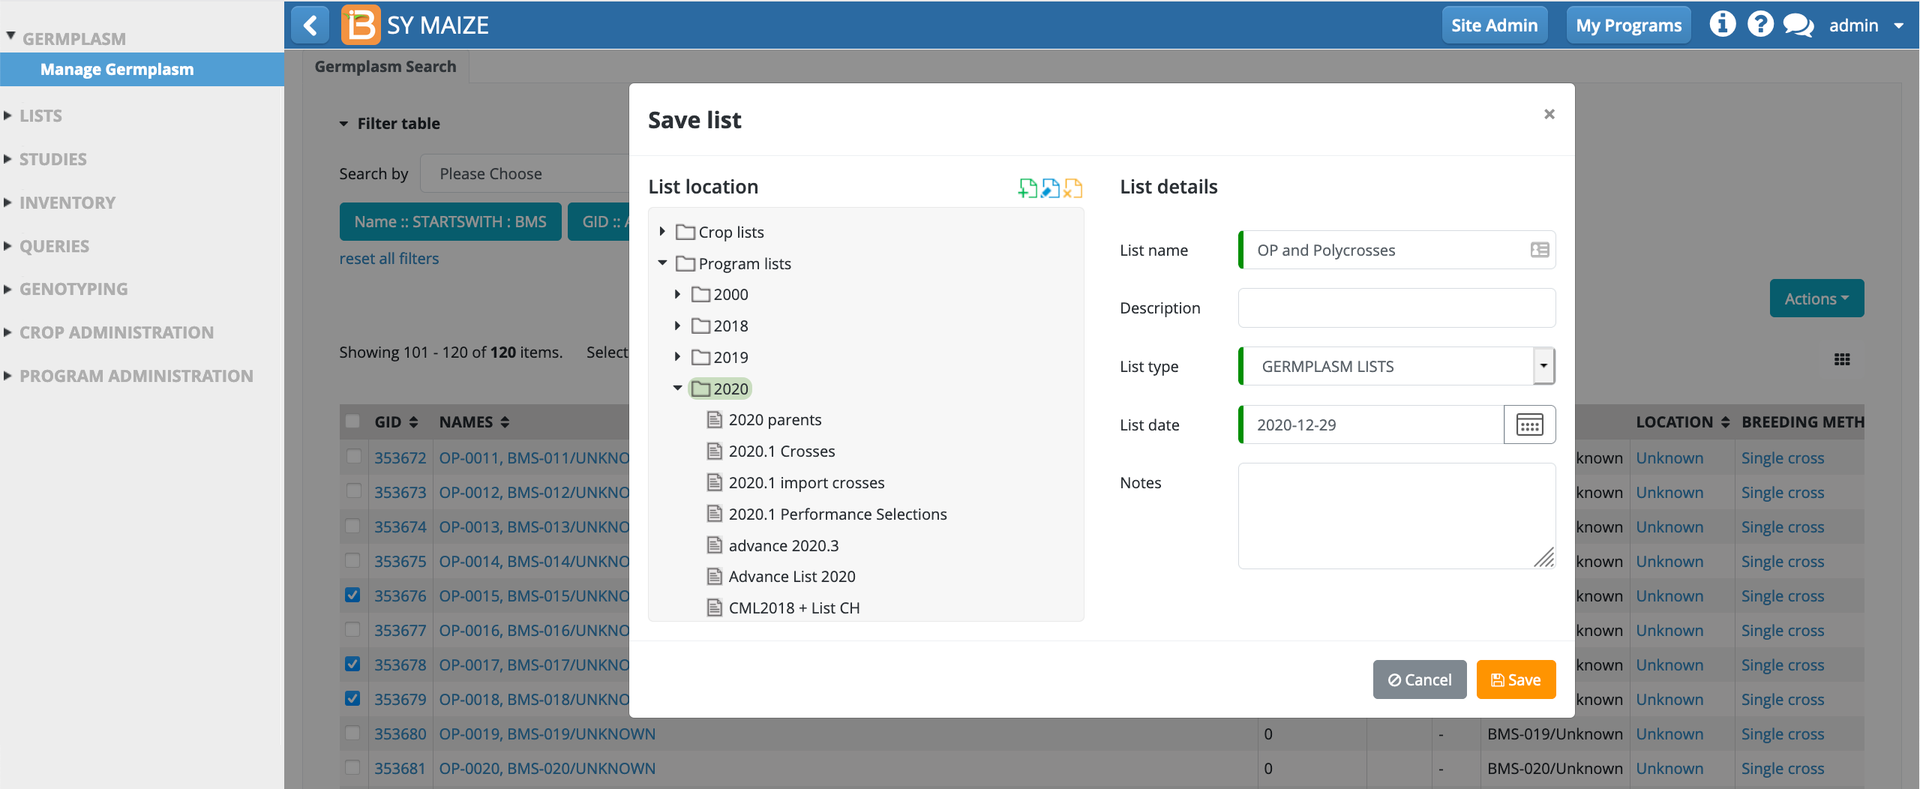
Using filters, select germplasm of interest. Select "Create New List" from the Actions menu.
Select or create a folder to house the new list. Name the germplasm list and Save. The germplasm list will then be available from the germplasm list filter and the Germplasm Lists module of the BMS.

Add to an existing list
Using filters, select germplasm of interest. Select "Add to an existing list" from the Actions menu.
Specify the list to which the selected germplasm will be added. Add. The germplasm will then be added to the specified germplasm list.


Import germplasm
...
Update a batch of GIDs: Import germplasm updates
| Note |
|---|
Changing the breeding method class (for example, Derivative to Generative) via Import germplasm updates is beta functionality and has known usability limitations. |
There are two ways to update Germplasm Records in BMS if you have the correct privilege to do so (eg Crop Admin). The first way is to use the edit features on the Germplasm Details forms – one GID at a time as described in the previous section. A second way is to use the Germplasm Update template from the Germplasm Manager to update a batch of GIDs in a single pass. We will demonstrate the second way here.
...